Objective:
This is a quick tutorial for beginners to install Oracle Java 8 in Ubuntu 18.04 using PPA.
Pre requisites:
Before installing Java in Ubuntu, of course you will need
- One machine/server with Ubuntu 18.04 LTS
- A sudo non root user. Steps to set this up are mentioned here.
Follow below steps to install Java 8 in Ubuntu 18.04 –
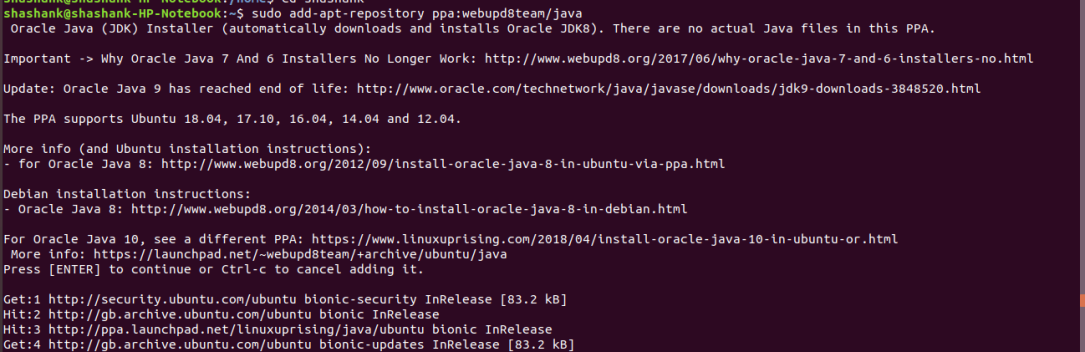
Step 1: Add the PPA (Personal Package Archive) –
Open terminal window and run the following command to add the PPA repository, to your source list, which will install scripts for latest Java 8 and 9 that will automatically download the java installer from Oracle site and install it in your Ubuntu machine.
sudo add-apt-repository ppa:webupd8team/java
Note: Type the password when it asks and hit Enter
Step 2: Before continuing to install java, it is a good practice to run an apt update –
sudo apt-get update
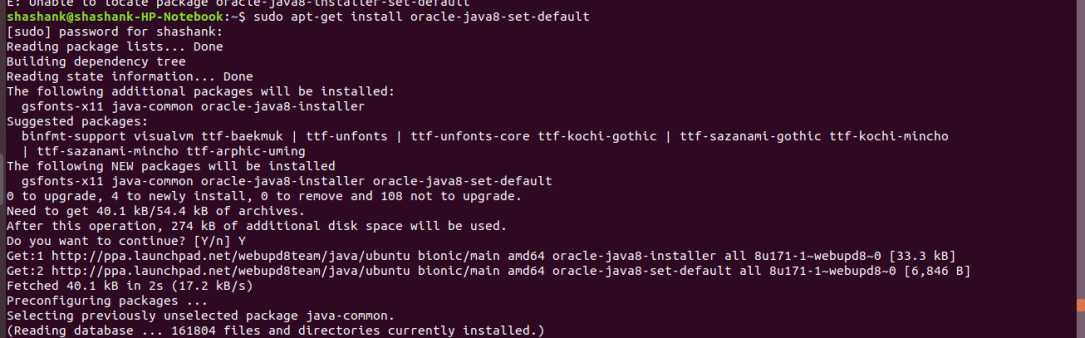
Step 3: Then install Java 8 using following command –
sudo apt install oracle-java8-set-default
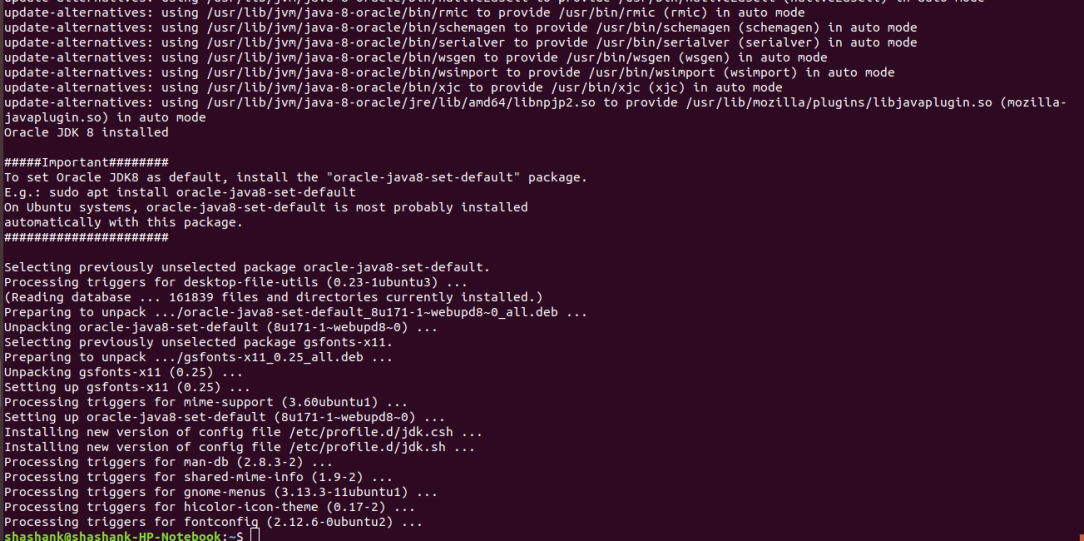
This will also automatically set the java environment variables. You can check this by running below command –
shashank@shashank-HP-Notebook:~$ echo $JAVA_HOME
/usr/lib/jvm/java-8-oracle
Step 4: Once it is installed successfully, check for the Java version –
javac -version
Conclusion
You have now installed Java in your Ubuntu environment. You can now install software which runs on Java, such as Tomcat, Jenkins, Jetty and other tools needed for software development.
