
Objective:
This is a quick tutorial to show steps for installing Docker in a server hosted with Ubuntu 18.04 LTS
Pre-requisites:
- One machine/server with Ubuntu 18.04 LTS
- A sudo non root user. Steps to set this up are mentioned here .
Despite the fact that it isn’t obligatory, however it will be good if you have some understanding of Docker & its concepts before beginning with this instructional exercise. If you are looking to catch up with Docker or to brush up your concepts, you can read a good article on Docker here.
Installing Docker:
We will be installing Docker from official Docker repository as the package available in the official Ubuntu 18.04 repository may not be the latest version. This section will show you the exacts steps to do it –
It is always recommended to do an apt update before starting with any installation/update –
sudo apt-get update
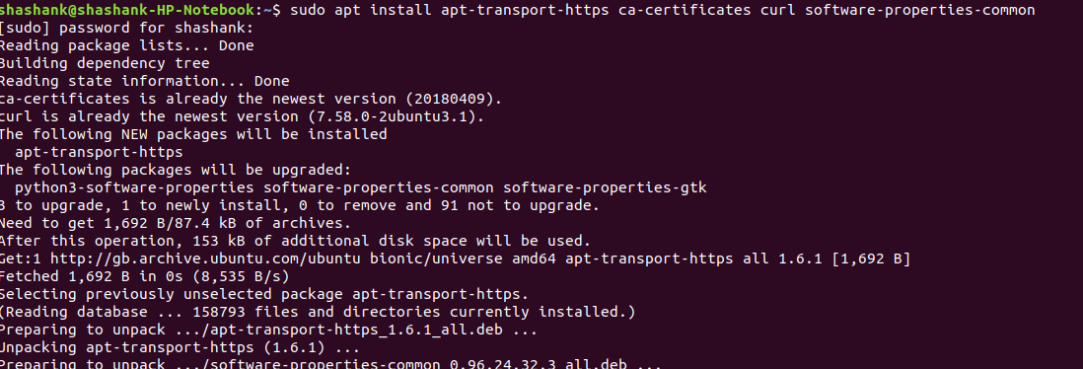
Before starting with Docker installation, lets first install the dependencies –
$ sudo apt install apt-transport-https ca-certificates curl software-properties-common
Then, we need to add the GPG key for the official Docker repository to the system:
$ curl -fsSL https://download.docker.com/linux/ubuntu/gpg | sudo apt-key add -
OK
Add the Docker repository in sources.list.d to APT sources using below command:
$ sudo add-apt-repository "deb [arch=amd64] https://download.docker.com/linux/ubuntu $(lsb_release -cs) stable edge"
Then, lets check if you are able to install Docker from Docker repository –
apt-cache policy docker-ce
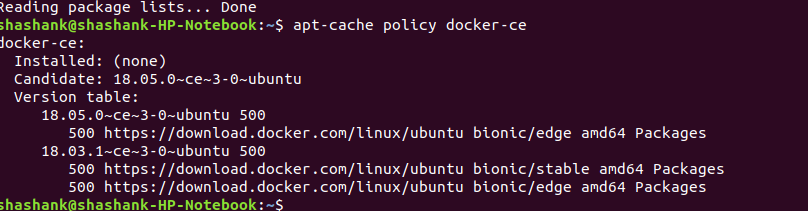
Mind that the docker is not installed yet, but if the output is similar to given above, then you have met all the criteria and good to start with the installation –
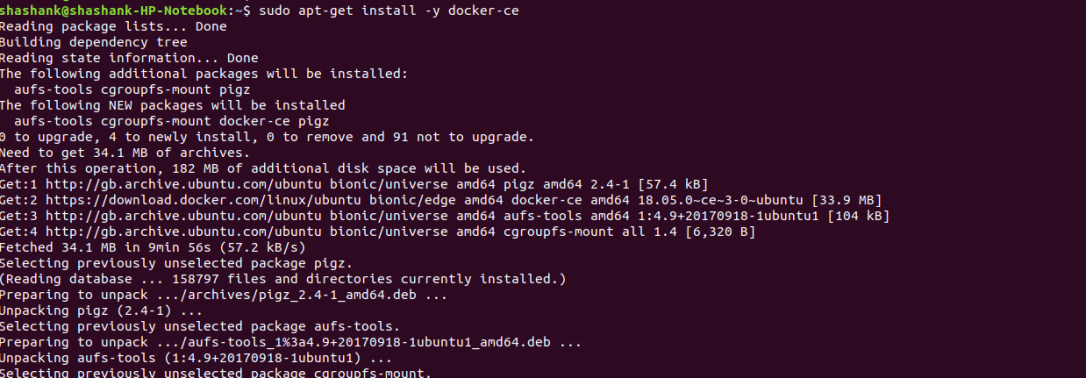
Finally, you can install Docker CE package with below command –
$ sudo apt-get install -y docker-ce
Once docker is installed, you can verify by checking its version –
shashank@shashank-HP-Notebook:~$ docker --version
Docker version 18.05.0-ce, build f150324
You can also verify that the daemon started, and the process is enabled to start on boot. Check that it’s running: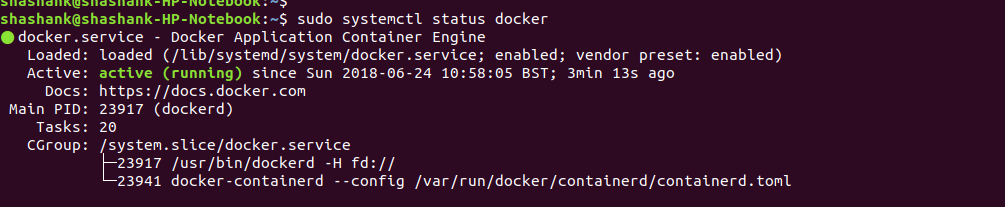
Executing Docker command without Sudo
By default, running the docker command requires root privileges but you can avoid typing sudo whenever you run the docker command by adding your username to the docker group:
$ sudo usermod -aG docker <user>
To apply the new group membership, you can type the following:
su <user>
You will be prompted to enter your user’s password to continue.
Conclusion:
This concludes the tutorial for installing Docker. There is much more to do with Docker but this will get you started. Now if you would like to continue further and play more with Docker, you can also refer to my previous posts here-
- Install Apache Kafka in Docker Container
- Deploy a Spring Boot MicroService with Netflix OSS stack in Docker Container

1 thought on “How to Install Docker in Ubuntu 18.04”